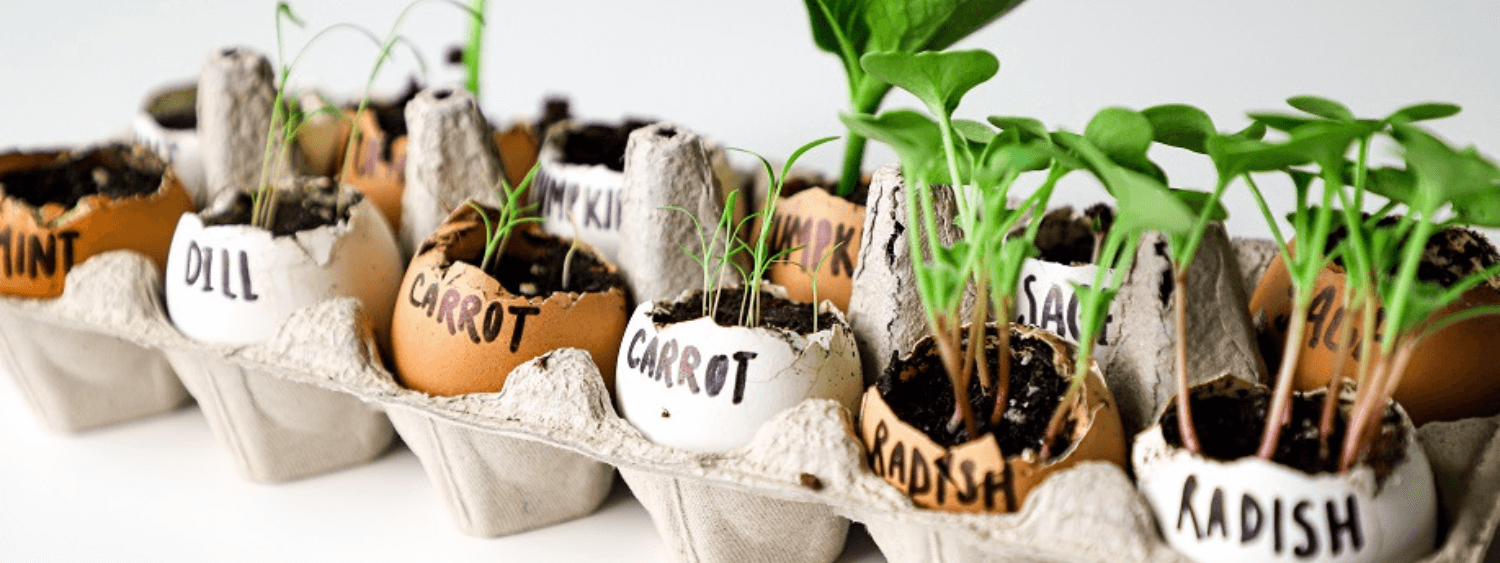
Seed starting indoors is a great way to bring spring a little early to your classroom. Use these eggshell planters in your school garden or have your students bring them home once the warm weather arrives!
What you need:

- 1 dozen eggs
- Egg carton
- Bowl
- Potting soil
- Knife
- Spoon
- Permanent marker
- Seeds (either one kind or a variety of types)
Step 1 – Hollow out the eggshells
Using the knife, carefully crack each egg at the pointed end of the shell. Gently hit the shell with the sharper end of the knife to “chisel off” a small “cap.”
Place the egg contents into a bowl to use in cooking later! Rinse the eggshells before placing them back in the egg carton.

Step 2 – Add the soil
Use the egg carton to hold your empty shells and begin filling them with potting soil. Do this over a bowl to avoid a mess. (Tip: crush the tops of the shells in a blender to a fine powder, and incorporate them into the soil for added nutrients.)
Tip: Read the potting depth on your seed packages! Different seeds need different depths. For example, pumpkin seeds require about 1.5cm, while mint seeds only need a few millimeters.

Step 3 – Add the seeds and label the shells
Drop a few seeds into each eggshell planter, paying attention to the spacing requirements on your seed packets. Label each planter with a permanent marker as you go to keep track of the different seeds.

Step 4 – Top off with more soil
Cover the seeds with more potting mix to the required depth.

Step 5 – Water, sunshine, and waiting
Water the eggshell planters and place them in a sunny spot, such as a windowsill. Make sure to water them every day or two to keep the soil moist and help the seeds germinate.

Once the seedlings sprout and develop a root system, they can be planted outside, weather permitting. Carefully break the bottom part of the shell and place them directly into the garden. Be mindful of frost if planting in early spring.

Happy eggshell planter gardening!
