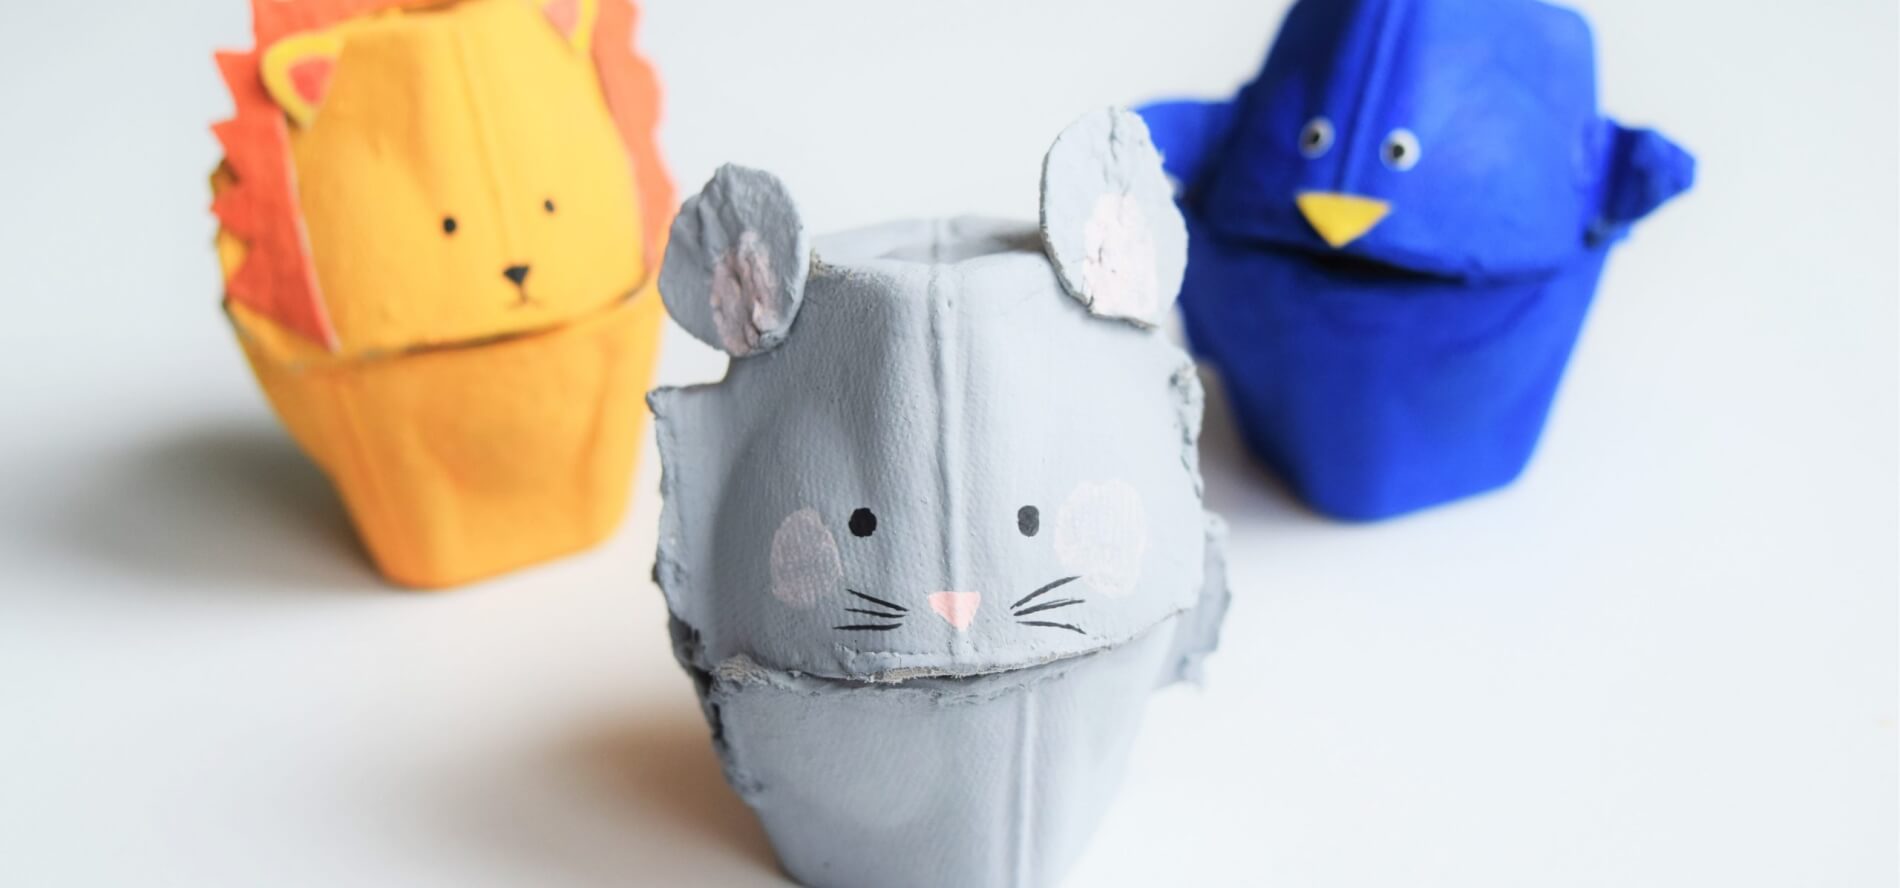
Calling out all animal lovers! This carton critters craft will help your students connect with their favourite animals or tie to any in-class animal projects. The options are endless to make these animal critters come to life!
What you need:
- egg carton
- scissors
- glue
- assorted paints
- paint brush
- thin black marker (for details)
Step 1: Planning
Start by asking your student to think about which animal they would like to do. This may involve some investigating in books, online or through discussion.
Step 2: Preparation
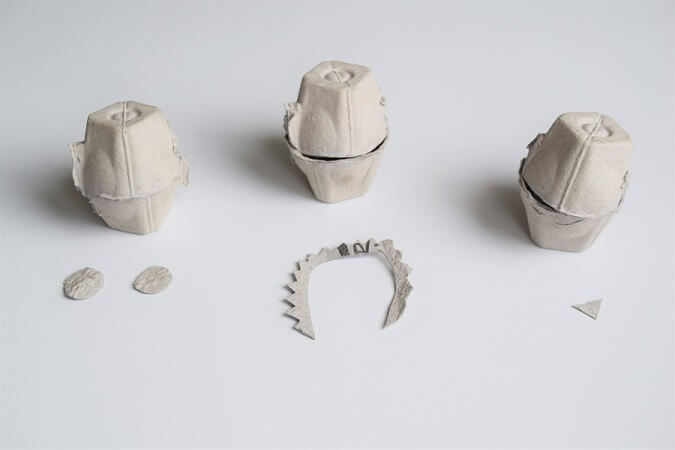
After the chosen animals have been selected, they must be categorized into groups. The carton critters all have unique parts that need to be cut out as additional pieces to be glued on as distinguishing features. These groups include the following features:
- Ears
- Wings
- Beaks
- Manes
- Tails
- Fins
Now it’s time to cut the egg cartons so that each individual cup is available. Once students have determined what additional pieces are required, those can be cut up as well. Finally, glue the top and bottom pieces of the cup together to make the body of the critters.
Step 3: Painting
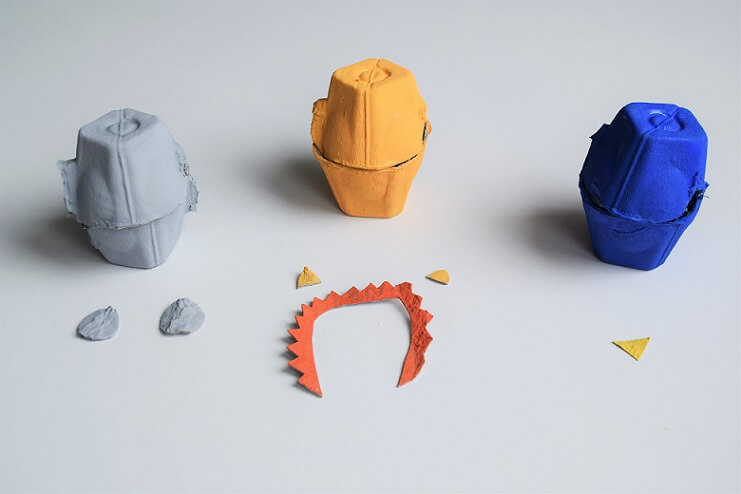
Once the glue on the critters has fully dried, they are ready to paint – each one will have its unique parts to paint. Start by painting the body, then the smaller parts to follow.
Step 4: Assembly
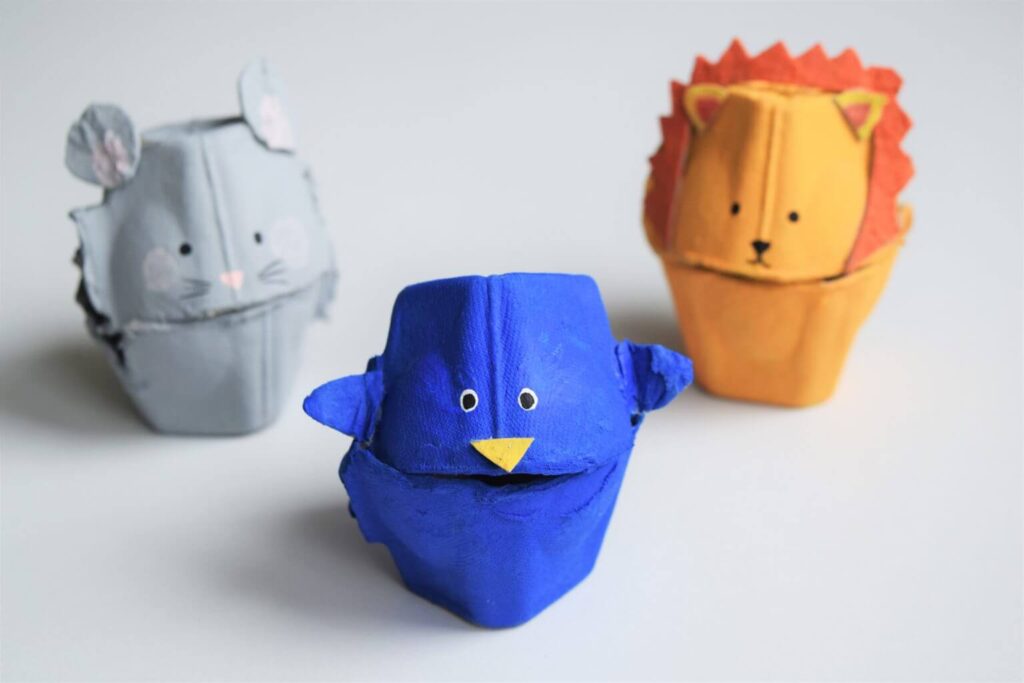
When the paint has fully dried, assemble your carton critters with glue.
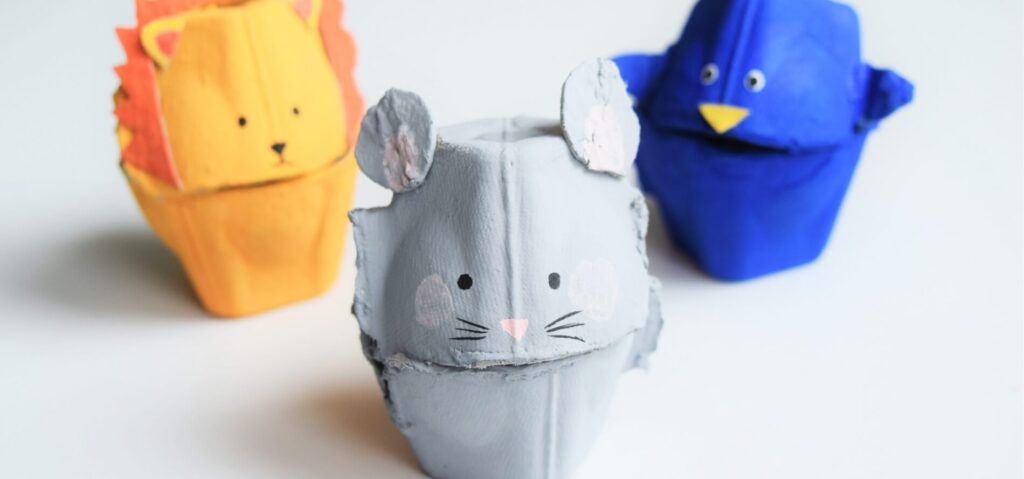
Step 5: Completion of Carton Critter Craft
Finally, it’s time to add any finishing touches that will bring the carton critters to life! These details include eyes, a nose, whiskers or a mouth. Once completed, they can be used as part of a project or be put on display in the classroom!
Happy crafting!
