
Egg Carton Pumpkin Patch
As the weather gets cooler and the nights grow longer, there’s nothing like the sight of a perfect pumpkin patch to get you into the fall spirit! This craft uses recycled egg cartons and a collection of simple materials to create a unique pumpkin patch landscape.
What you need:
• Egg carton
• Construction paper (colours: blue, black, and brown)
• Paint (colours: orange and green)
• 1 thin paint brush
• 1 thick paint brush
• Hot glue or white liquid glue
Step 1: Cut and tear!
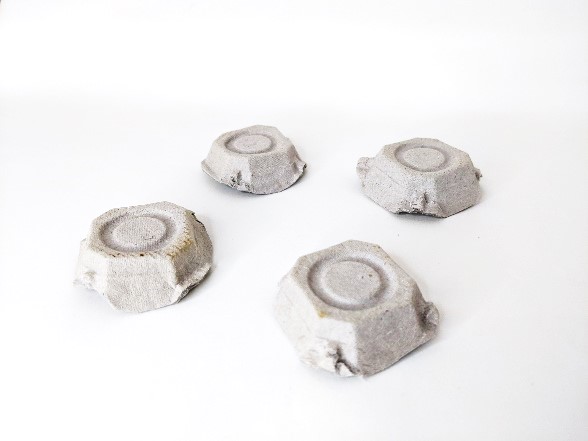
Cut your egg carton into two pieces, separating the top and bottom. Only using the bottom piece, cut apart the egg sections so that each is able to lay flat for your pumpkins.
Tear the brown construction paper in half to make the dirt. You want to have a rough edge, so tearing is suggested over cutting.
Using the black construction paper, cut small rectangular stems for each egg carton pumpkin. Set the cartons, brown and black paper aside and get ready for the next step!

Step 2: Paint!
It’s time to paint those pumpkins! Paint each pumpkin using the thick paint brush and orange paint. Set each one aside to fully dry.
Step 3: Glue!
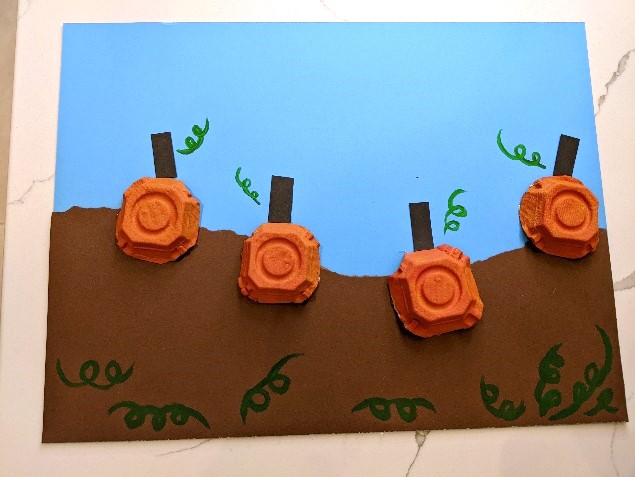
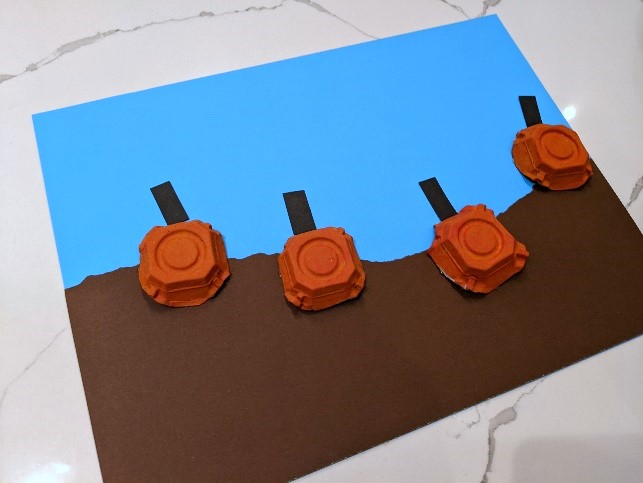
Set the torn brown construction paper on the full blue sheet and arrange the dirt mound to match the edges of your paper. Apply some glue between the pages to set it into place.
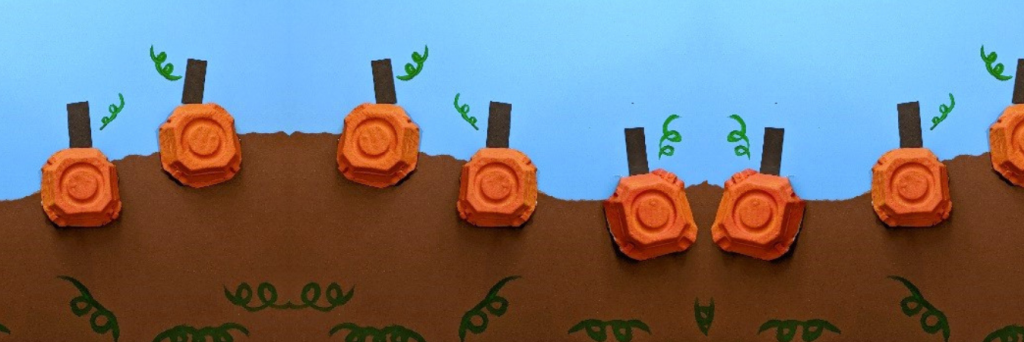
When the pumpkins have dried, glue them down into the brown “field”. Use glue to adhere the pumpkins to the brown paper.
Use the black stem pieces for the top of your pumpkins and glue them down.
Step 4: Finishing touch!
To finish the pumpkin patch, use the thin paintbrush to decorate with greenery around your pumpkins. You can make spiral shapes to imitate pumpkin vines. Allow your artwork to dry completely before displaying it for friends and family!
